Idea
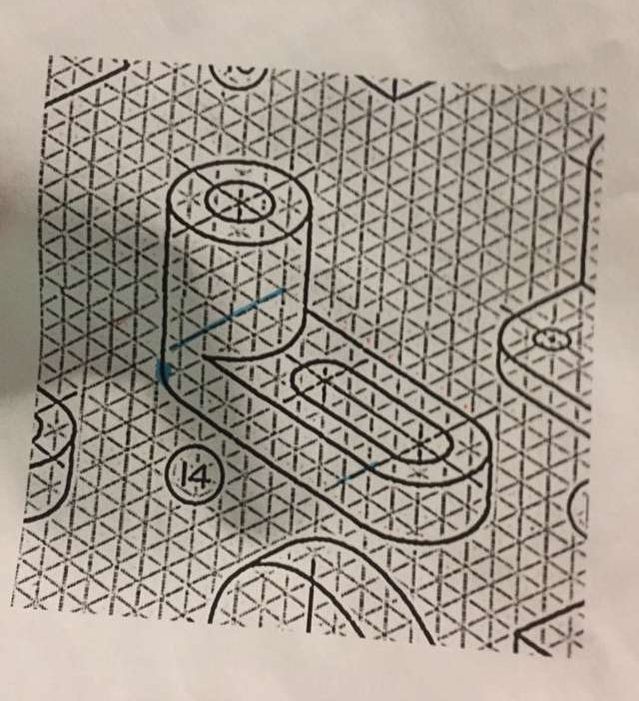
For this project what we were making was already decided, we were just told to make it so I wanted to make it as efficiently as possible. Below is the information we were given along with that each triangle's side was .25 inches long.
Step by step
Below is the step by step procedure to make the widget in inventor.
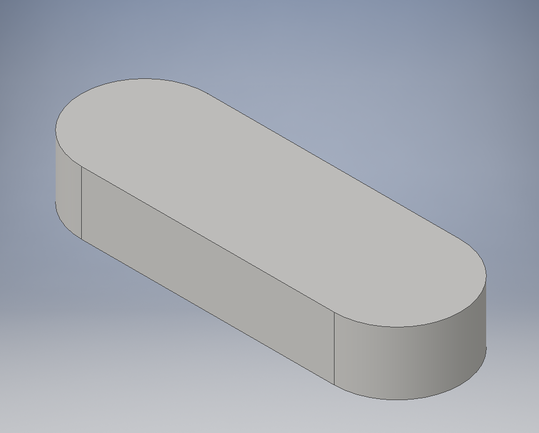
First I decided to make the base so I outlined that and extruded it.
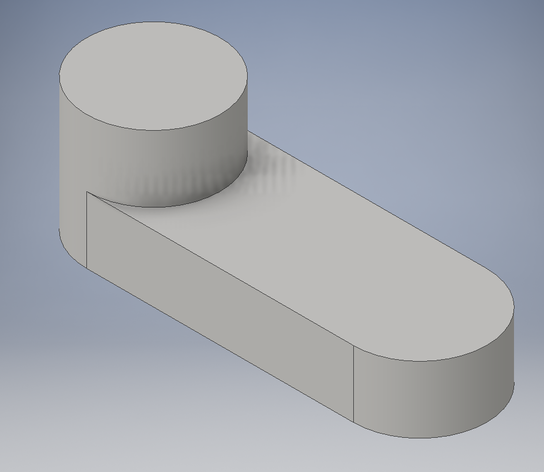
Next I extruded the cylinder.
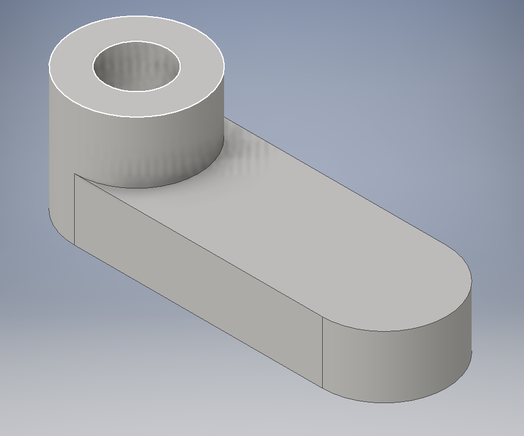
Then I did the negative extrusion in the cylinder, make sure this goes through the whole widget.
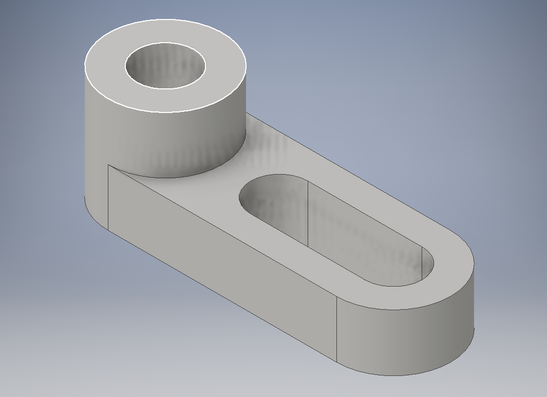
Finally I did another negative extrusion in the shape of an oval, again make sure this goes all the way through.
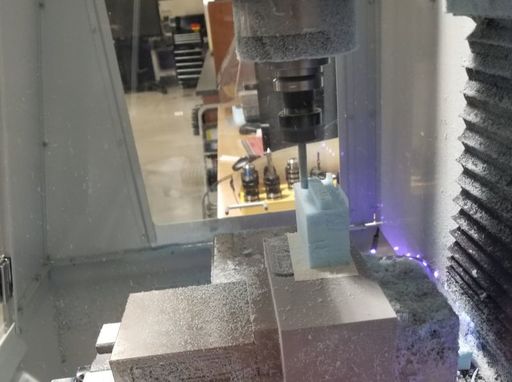
So once the widget is finished you have to save it to Fusion 360 and save the tool path as a G code. Next bring the tool path to the CNC Mill with a cut out of styraphome, tape it down and print it.
SUMMARY
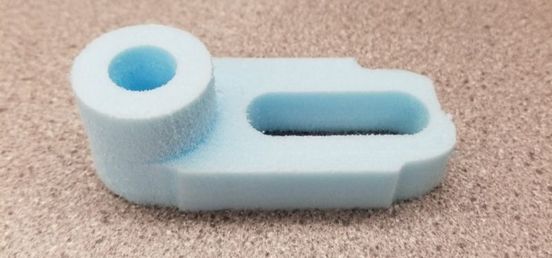
The design in Inventor was easy to make and I had a lot of success with that, but I struggled more with the printing of the widget. It took me so long to figure out how to save the G code, and once it was finally printed it didn't look right. There was extra material on the sides and material missing from the front.
