ILLUSTRATOR
This is a 2-D program using vector images to make art. Vector images are the opposite of raster images. For vectors instead of using pixels, like raster images, it uses points and lines to make very simple designs. We use these points to show the laser where to cut, red, and engrave, any other color except for blue.
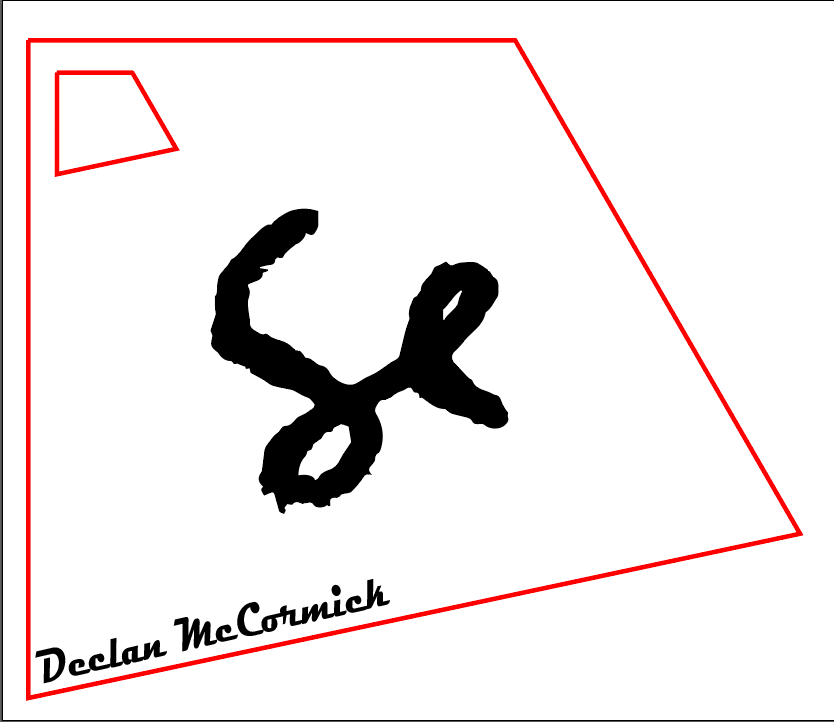
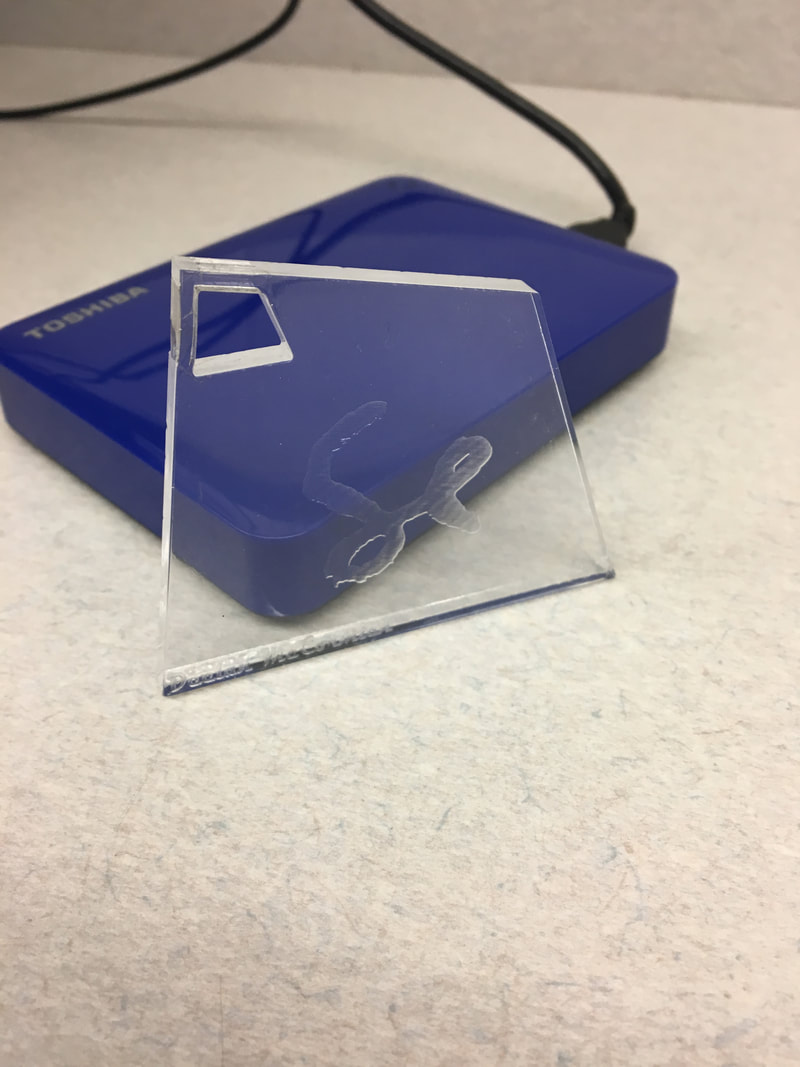
The screenshot above is the design lay out I used for the key chain cut out. After printing on a clear Plexiglass it looked as shown below.
Step by step procedure for laser
The first step to using the laser is making the design.
After you complete the first step you will need to upload this file to a flash drive to bring to the laptop attached to the laser cutter.
Plug in the flash drive and open the file in Illustrator.
Next move the file to UCP for the laser.
Move the file to the preferred spot to not waste any material.
Turn on exhaust.
Print.
(The Illustrator file should look as shown below except the red lines must be changed to a thickness of .0001)

Vinyl cut out
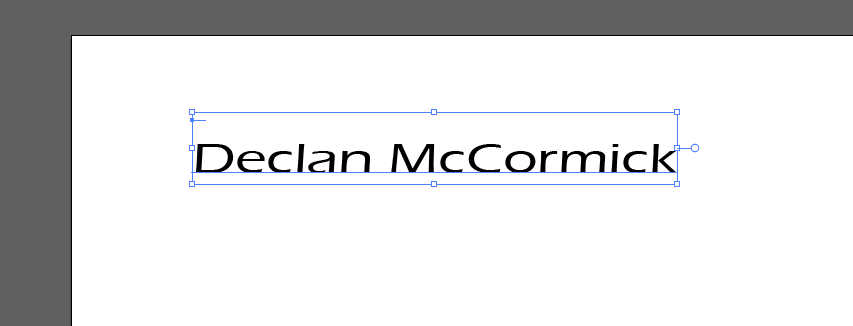
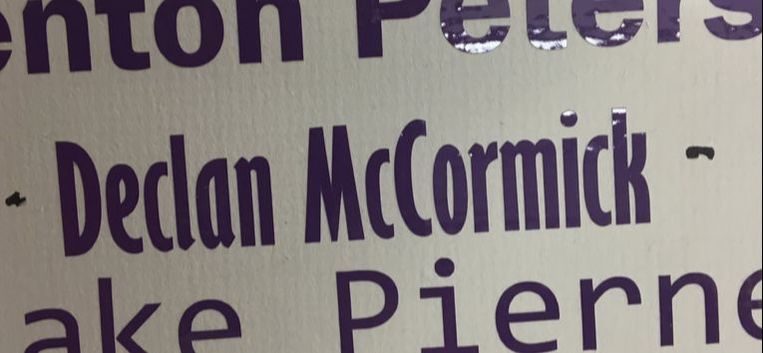
This is the outline I used for the vinyl cut out of my name, and below is how it turned out.
Step by step procedure for vinyl
Select font and text on Illustrator.
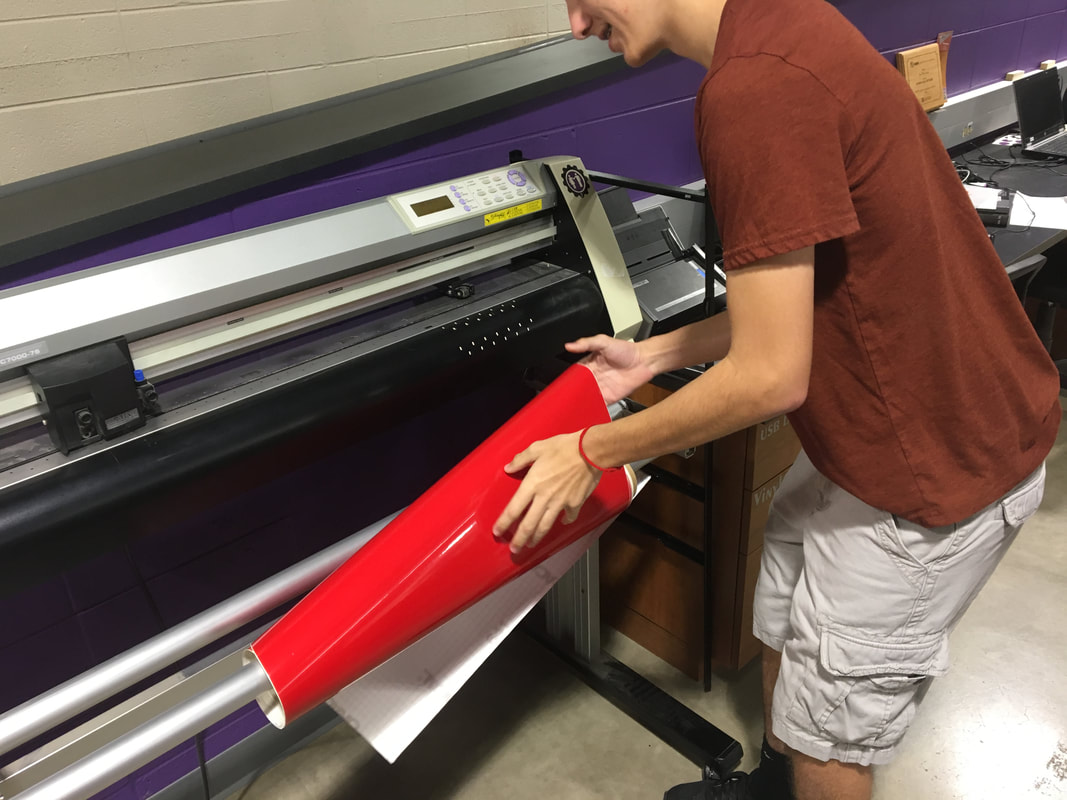
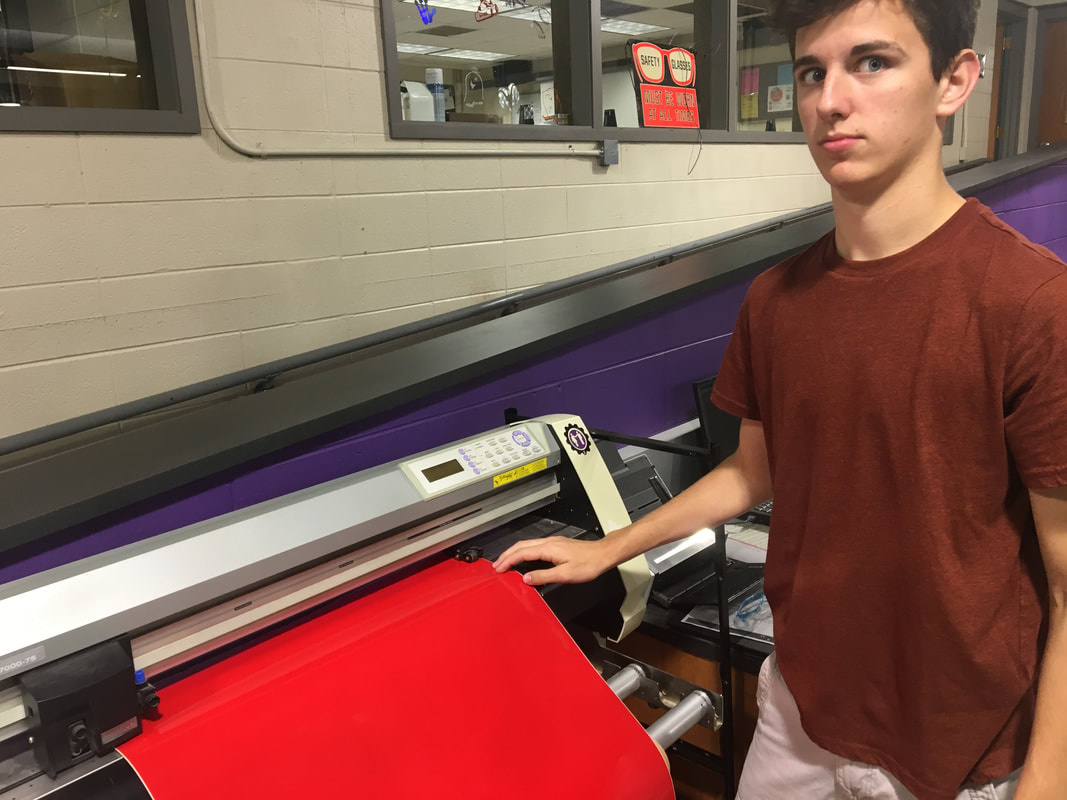
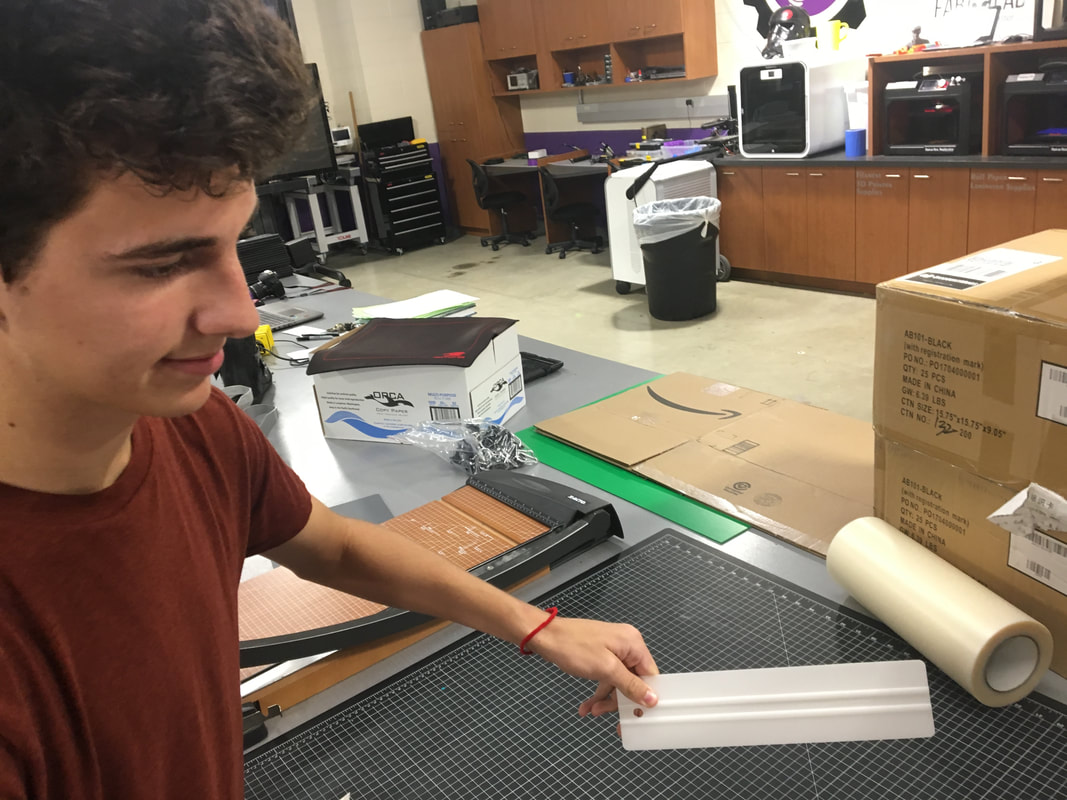
Set up vinyl cutter as shown below.
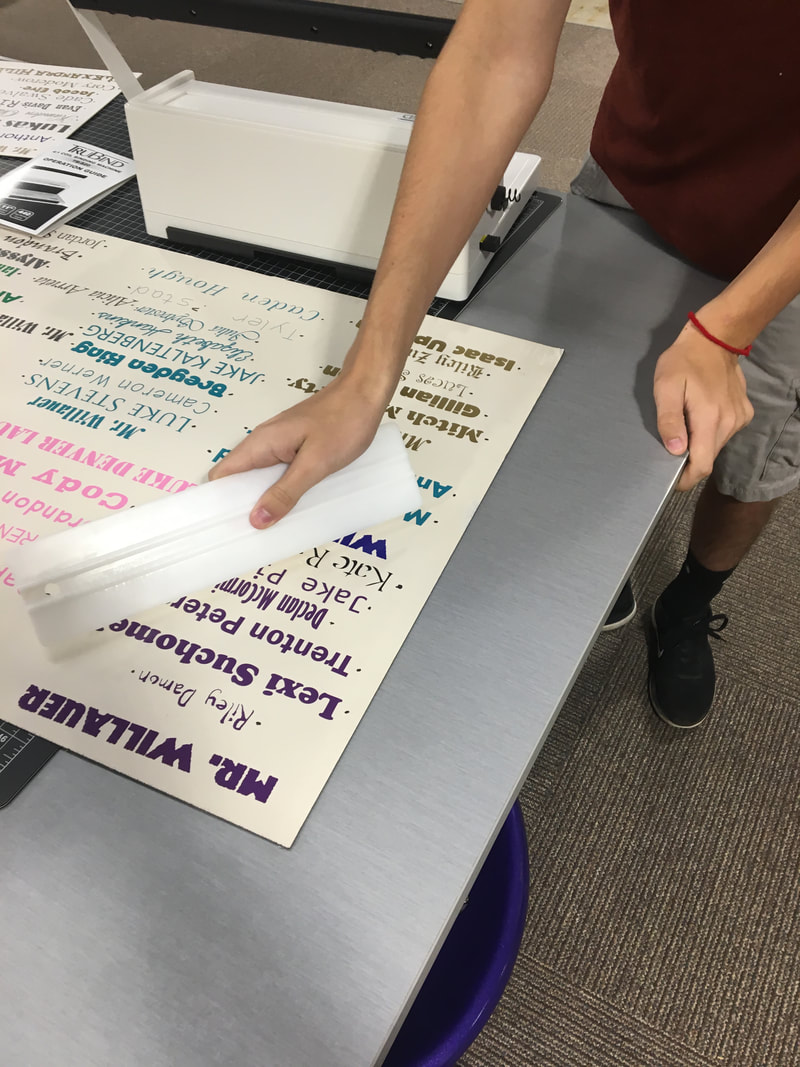
Next cut out the design and remove all of the vinyl you don't want.
Place and cut the cut out on the tape.
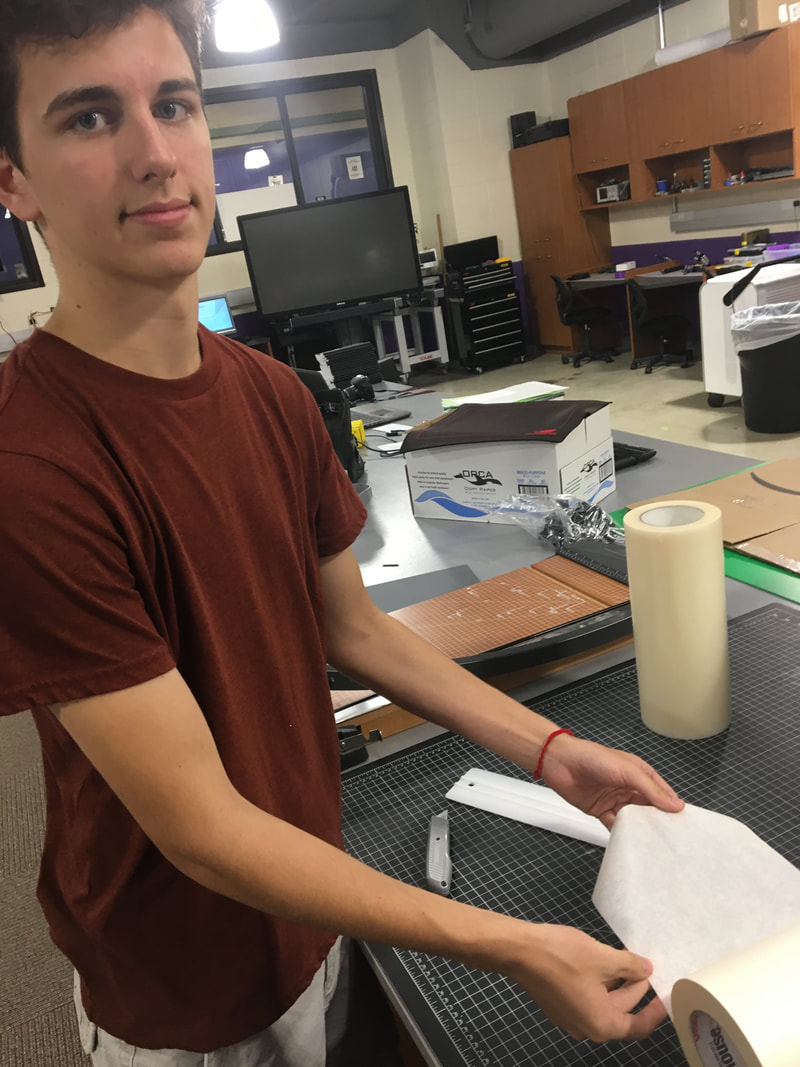
Press the paper down and remove the paper.
Place on preferred surface press and remove.
Summary
So far for illustrator most of it has has been review because I took graphic design my sophomore year. The new things that I have learned have been how I will apply this to make physical art. Some examples of physical art is we have made vinyl cut outs and laser cut outs on Plexiglas.
